
North Richland Hills Wood Flooring handles subfloor repair and floor leveling throughout North Richland Hills, TX, serving surrounding cities including Watauga, Hurst, Haltom City, Colleyville and Bedford. It is the least visible work we do and the most decisive, because the layer under a wood floor determines whether the floor above it bonds, stays quiet and stays flat, and no amount of good installation survives a bad deck.
The requirement that catches people out is that flatness tolerance is a wood flooring specification rather than a construction one. A slab poured to an acceptable structural tolerance can still be well outside what a glue-down or floating floor needs, and the failure does not show up on inspection day. It shows up months later as hollow spots where a board never touched adhesive, overwood at the seams, and squeaks where a floating floor rocks on a high point.
So we map the deck before anything goes over it. That means a straightedge across the field in both directions, highs and lows recorded, moisture metered on both slab and wood decks, and panels checked for edge swell and fastener hold where the subfloor is framed. Correction comes before delivery of any flooring material, not after the pallets are already in the house.
What a Subfloor Problem Actually Looks Like
Flatness Tolerance for Wood Flooring
Flat is not the same as level, and flat is the one that matters. A room can slope gently and still take a floor without complaint, while a level room with a ridge running through it produces unbonded boards and movement. We measure across spans with a straightedge, mark every high and low on the deck itself, and correct against the flooring requirement rather than the concrete one.
Deflection, Squeaks and Movement in a Framed Deck
On a wood-framed floor the problem is usually movement rather than shape: a joist that dried and shrank away from the panel above it, a fastener that has backed out, or panel edges with no blocking under them. Each produces a different sound and a different fix. We locate the moving joint before opening anything so the repair stays the size of the fault.
Overwood, Hollow Spots and Telegraphing
Overwood at a board edge, a hollow sound underfoot and seams telegraphing through the finish are all downstream symptoms of the same upstream cause. They get blamed on the flooring and the installer, and they are almost always flatness or panel condition that somebody chose to live with. Diagnosing them correctly is what stops the second floor from failing like the first.
Slab-on-Grade Subfloors
Grinding Highs and Filling Lows
Ridges, trowel marks and high spots are ground down; dips are filled with self-leveling underlayment poured to the depth the map calls for. Doing both is usually cheaper than doing only one, because a floor forced flat by fill alone gets thick in places it did not need to. We work to the map rather than pouring the room and hoping.
Burnished Concrete and Surface Preparation
A hard-troweled, burnished slab is dense and closed at the surface, which is exactly what adhesive cannot grip. It has to be mechanically abraded back to an open profile before a glue-down goes over it, along with curing compound, sealer, paint overspray and drywall mud. Skipping that step is one of the commonest reasons an adhesive bond fails on a slab that tested perfectly dry.
Moisture Before Leveling, Not After
Self-leveling underlayment adds water to the assembly and then has to release it, so testing the slab after the pour is testing a different substrate. We run the ASTM F2170 in-situ relative humidity test or a calcium chloride test on the slab first, record the number, and test again after the leveling material has cured if a glue-down is going over it.
Wood-Framed and Manufactured Home Decks
Joist Spacing, Panel Thickness and Fastener Schedule
Whether a deck can carry a nail-down floor comes down to three numbers: how far apart the joists sit, how thick the panel spanning them is, and how the panel is fastened. Too thin a panel over too wide a spacing flexes between joists and no fastener schedule fixes it. We measure all three and specify an added layer where the assembly is under-built for the floor you want.
Water-Damaged and Delaminated Panels
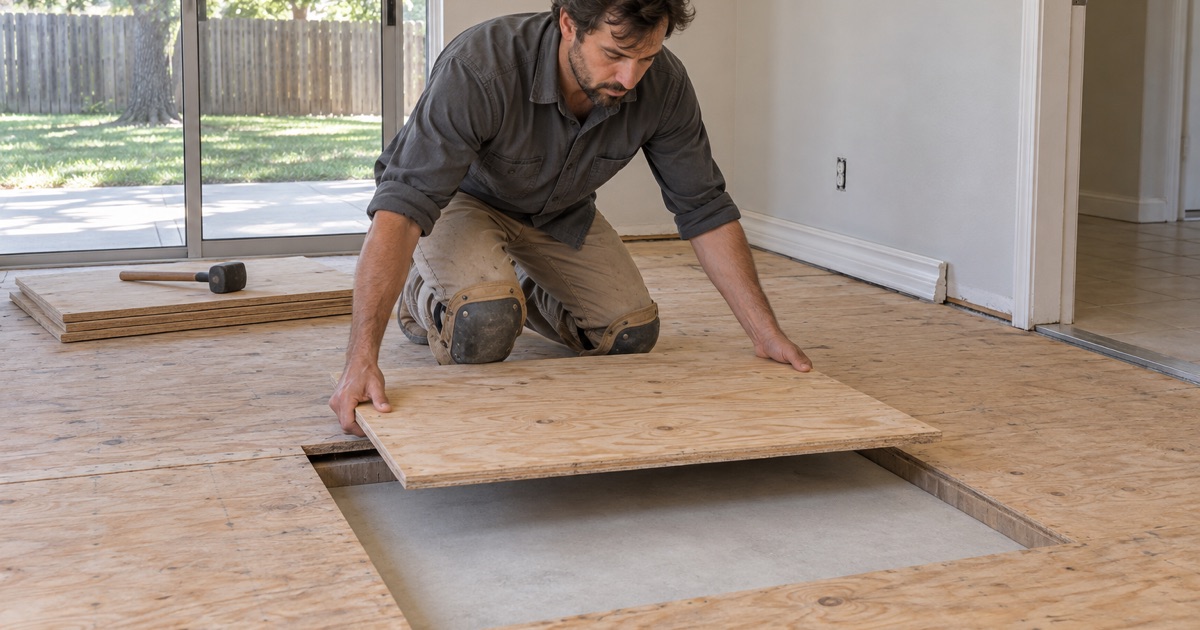
Plywood that got wet and dried usually recovers its strength; oriented strand board that swelled at the edges has changed permanently and no longer holds a fastener the way the deck assumes. We meter each panel, check edge swell and fastener withdrawal, and replace to sound material in matched thickness so the corrected deck returns to a single plane rather than a patchwork of heights.
Plywood Decks Over a Steel Chassis
A manufactured home sits on a plywood deck over a steel chassis, not on a slab, so joist spacing, panel thickness, fastener access and the moisture path underneath are all different from a site-built house. We check deck thickness and the existing fastener schedule before specifying anything nail-down, and we treat the underside vapor condition as part of the job rather than somebody else’s.
Building a Nailable Deck Over Concrete
Plywood Sleepers
A sleeper frame is a grid of treated furring fastened to the slab with plywood laid over it, which recreates a deck a cleat or staple can bite into. It suits a conventionally reinforced slab where fastening into the concrete is acceptable, and it leaves a void that has to be detailed for moisture rather than ignored.
Floating Plywood Subfloor Systems
Where nothing may enter the slab — a post-tension slab being the clearest case — a floating plywood subfloor gives the same nailable deck with no fastener touching concrete. Two layers of panel are laid in opposing directions and fastened to each other rather than down, over the vapor layer the moisture reading called for.
Height at the Door and What It Costs
Every route that builds a deck over a slab raises the finished floor, and the height has consequences: door bottoms, appliance openings, the first stair riser, cabinet toe kicks and the transition into tile. We calculate the stack-up and show you the number before the method is chosen, because discovering it after the sleepers are down is an expensive place to learn it.
Our Step-by-Step Subfloor Repair Process
Step 1: Map the Deck
Straightedge across the field in both directions, highs and lows marked on the deck, moisture metered on slab or panels, and panel edges checked for swell and fastener hold. The map is the scope.
Step 2: Establish the Slab Type or the Framing
On concrete we classify the slab as post-tension or conventionally reinforced before any fastening method is considered. On a framed deck we confirm joist spacing, panel thickness and access from below.
Step 3: Remove What Cannot Stay
Failed panels, delaminated sheeting, loose material and contaminated or burnished slab surface come out or come off, back to something sound and bondable. Half-measures at this stage are the ones that resurface later as hollow spots.
Step 4: Correct the Plane
Highs ground, lows filled, panels replaced in matched thickness, or a sleeper or floating plywood deck built where the job calls for one. Then the field is re-checked against the same straightedge.
Step 5: Re-Test and Hand Off to the Floor
Moisture is read again on the corrected substrate, including after any self-leveling pour, and the readings go on the file. Only then does flooring material get delivered and acclimated in the room it is going into.
- 20+ Years Experience
- Dustless Containment
- Free Written Estimates